
How to Install WPC Decking: A Step-by-Step Guide for Perfect Results
Jun 07,2025

WPC wood plastic composite beats traditional decking materials in many ways. The boards won't rot, decay, or attract insects, which makes them perfect for outdoor use. These boards need very little upkeep - just soap and water now and then to keep them clean. You'll spend more money upfront than with wood, but the long-term savings are huge because these boards last so long.
You've made a smart choice to think over installing WPC decking boards yourself. Your new deck won't just look beautiful and need minimal maintenance - it's also good for the environment since many WPC products use recycled materials. The right installation is a vital part to get the best results and make your deck last longer.
This piece walks you through each step to install WPC decking the right way. We cover everything from tools you'll need to tips for taking care of your finished deck. Ready to dive in?
Tools and Materials You’ll Need
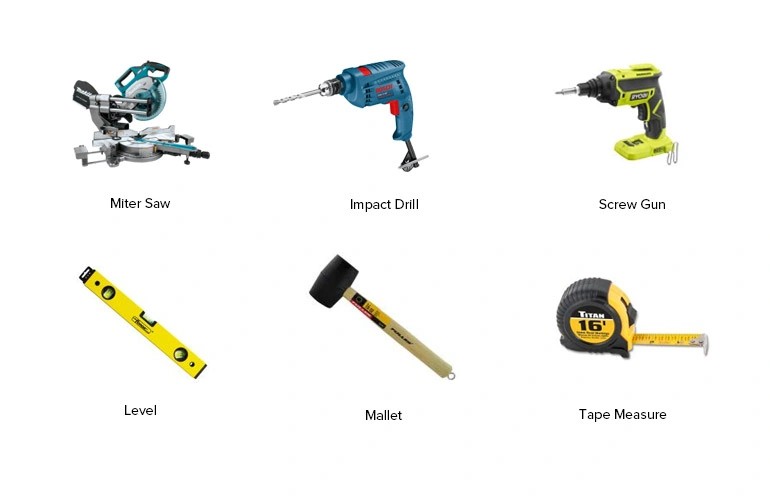
The right tools and materials make your WPC decking project run smoothly. You'll save time and avoid frustrating interruptions by getting everything ready before you start.
Measuring tape and chalk line
Your deck layout needs precise measurements. A quality measuring tape (25-foot or longer) will give a perfect foundation for your deck dimensions. A chalk line creates straight reference lines over longer distances and helps you arrange joists and boards. These tools create professional results with perfect spacing and alignment throughout your deck.
WPC decking boards and joists
WPC wood plastic composite material stands at the heart of your project. Add 10% extra to your square footage calculations to account for wastage, cuts, and possible future replacements. The best foundation comes from pressure-treated lumber or aluminum joists designed specifically for composite decking. Your joists should match the manufacturer's recommended spacing—residential applications typically need 16 inches on center.
Drill, screws, and fasteners
A cordless drill with variable speed settings speeds up the installation process. Your WPC decking boards need:
- Composite decking screws (stainless steel or coated to prevent corrosion)
- Hidden fastener clips (if using a grooved-edge decking system)
- Joist hangers and structural screws for the frame
Your WPC decking manufacturer's recommended fasteners ensure compatibility and protect your warranty.
Rubber mallet and spacers
A rubber mallet lets you tap boards into position without damage. Plastic spacers (typically 1/4 inch) create even gaps between boards for drainage and expansion. These gaps become crucial with WPC decking boards as seasonal changes cause minor thermal expansion and contraction.
Protective gear and gloves
Safety gear should top your priority list. You'll need:
- Safety glasses to protect your eyes from debris
- Work gloves to stop splinters and scrapes
- Knee pads to stay comfortable during extended kneeling
- Dust mask while cutting composite materials
WPC wood plastic composite cutting creates fine dust. Good respiratory protection becomes essential when you make multiple cuts.
Preparing the Installation Area
A solid ground preparation is the foundation of a soaring win in WPC decking installation. Time spent on this vital step prevents future problems and makes your deck last longer.
Clear and level the ground
Start by marking your installation area with stakes, string, and paint to show the deck's dimensions. The first step is to clear the area of all vegetation, rocks, and debris. Using weed killer before you start saves effort with stubborn weeds. The next step is to dig the entire area to a minimum depth of 50mm below your finished frame height. This space allows air to flow beneath your deck. A spirit level or laser level helps check the ground's levelness. You might need to remove more soil from higher spots to get it right.
Install weed barrier or concrete base
The ground needs a high-quality weed barrier fabric once it's level. This non-woven membrane stops future weed growth that could harm your WPC decking structure. Garden staples or small stones keep it firmly in place.
Your foundation options include:
- Compacted gravel layer (best for drainage)
- Concrete screed (10cm thick) for maximum stability
- Paving slabs on flattened soil
A concrete base gives you the best stability but takes longer because it needs time to dry. Raised decks work best with concrete posts or blocks placed 35-60cm apart.
Ensure proper drainage slope
The drainage slope is often missed but it's a key part of installation. Your area should have a slight 2% slope so water runs off well. This gentle tilt:
- Stops water from standing under your deck
- Guards against moisture damage
- Cuts down mold growth risk
- Moves water away from your home
Water might collect beneath your WPC decking boards without the right slope. This can lead to early wear and structural problems over time.
How to Install WPC Decking Step-by-Step
The time has come to build your WPC decking. You can complete the installation by following these six significant steps.
1. Lay the joist frame
Space your joists 300-450mm (12-18 inches) apart for residential projects. Commercial settings need closer spacing at 300mm to boost stability. You'll need double joists where decking boards meet to stop movement. Check the joist levels after positioning them. Small shims between the joist and ground will help create a flat surface if you notice any uneven spots.
2. Secure the starter clips
Starter clips help fix the first and last boards in place. Place each clip along your deck frame's edge and line it up with the joist. Secure them to the frame by inserting screws through the clip holes. Six starter clips work well for every 16 feet of composite deck board.
3. Place the first WPC decking board
The first board needs to fit snugly into the starter clips. A 10mm gap from boundaries allows expansion, drainage, and ventilation. This original board becomes your guide that helps all other boards line up correctly.
4. Use spacers for even gaps
Even spacing between boards is vital. Plastic spacers (4-6mm) create uniform gaps that:
- Let boards expand and contract naturally
- Help water drain properly
- Allow debris to fall through instead of collecting
5. Continue laying and fastening boards
Work systematically across your deck area to attach more boards with hidden fasteners or screws. Hidden fasteners create a clean look without visible screws on grooved-edge boards. Note that WPC products expand 0.3% to 0.5%, so adjust your spacing based on local weather conditions.
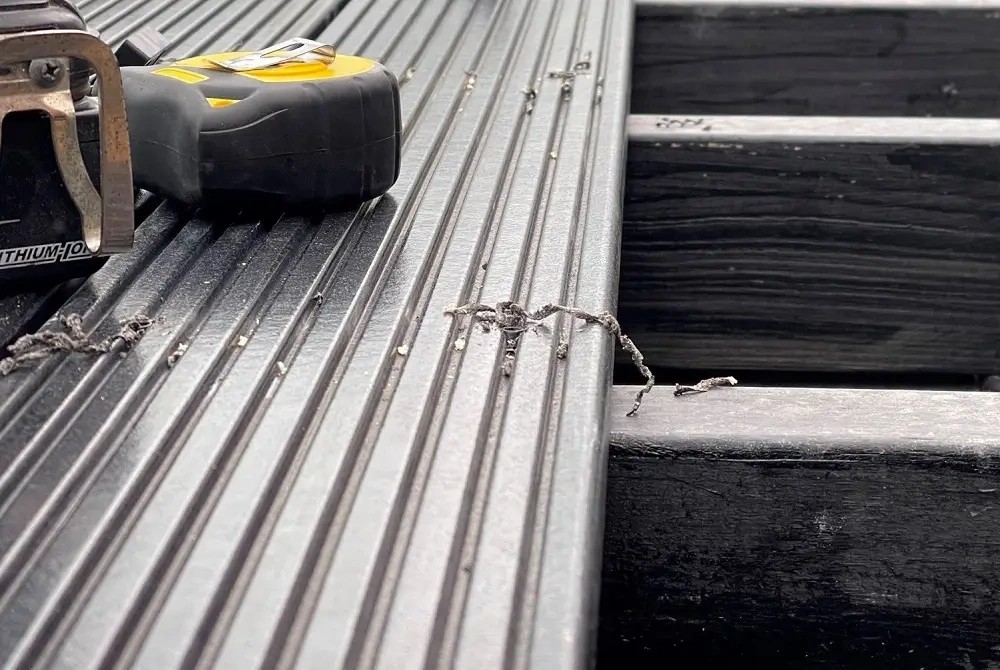
6. Install edge trims and finishing pieces
Edge trims give your deck a polished look by covering exposed board ends. Make pilot holes in the trim pieces first. You can secure them with screws or strong adhesive. Corner trim pieces need an 8mm expansion gap between them.
Post-Installation Care and Maintenance
Your WPC decking looks amazing right after installation, but its lifespan depends on how well you maintain it. Good care practices will help your deck last anywhere from 10 to 30 years.
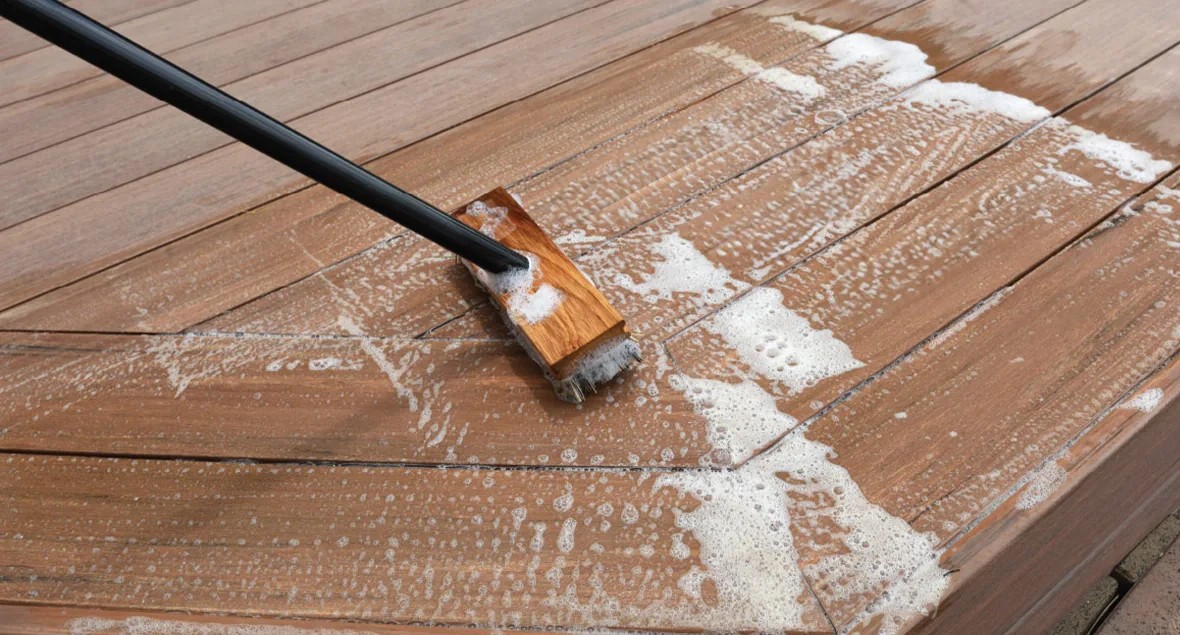
Clean the surface after installation
Start by removing all construction debris from your deck's surface. A soft-bristled broom works best to sweep away dust, wood chips, and any loose fasteners left from installation. You can get a better clean by mixing warm water with mild soap (stay away from ammonia-based cleaners) and scrub the surface with a medium-to-hard bristle brush. This original cleaning gets rid of manufacturing residue and gets your deck ready for use.
Inspect for loose fasteners
Natural expansion and contraction of decking materials can make fasteners come loose. Your deck's fasteners need checking twice a year, during spring and fall. The ledger board where your deck connects to the house needs extra attention since most deck failures happen there. Quick tightening of loose screws will improve safety and make your deck last longer.
Avoid dragging heavy furniture
Weather isn't always the culprit - furniture often causes the most damage to WPC decking. Scratches can permanently damage the surface if you drag items instead of lifting them. Here's how to protect your deck:
- Put protective nylon pads under furniture legs
- Lift items instead of dragging them across the deck
- Move planters and chairs around to prevent uneven fading
Schedule seasonal cleaning
A regular cleaning routine will keep your WPC decking in great shape. Most manufacturers say you should do a full cleaning 2-3 times each year. Fall requires more frequent sweeping because of falling leaves. Before winter hits, clear all debris between boards so water can drain properly. Your deck and furniture will last longer if you store or cover patio items during harsh weather.
Conclusion
WPC decking installation definitely needs careful planning and execution, but the results are without doubt worth all the effort. In this piece, we've covered everything from the tools you need and ground preparation to installation steps and maintenance needs.
By doing this, your composite decking will stay beautiful and functional for decades. The biggest problem with poorly installed decks is they often warp, sag, or deteriorate too soon. Proper installation prevents all these issues.
The time you invest during preparation and installation will pay off later. Your properly installed WPC deck needs much less maintenance than traditional wood decking. You won't have to deal with endless sanding, staining, and sealing cycles. On top of that, you'll have peace of mind that your outdoor space has a solid foundation with proper drainage and spacing.
Note that patience during installation leads to a longer-lasting deck. Perfect joist spacing, right fasteners, and consistent gaps between boards might seem like extra work now. These details create all the difference in your deck's final look and durability.
This guide should help you build the perfect WPC deck for your home. With these instructions and a couple of weekends of focused work, you'll create a beautiful, durable outdoor space. Your deck will become a natural extension of your home for years ahead. Happy building!
PREVIOUS:
Related Posts
Are you looking for a reliable environmentally friendly composite flooring manufacturer?
We can quickly provide customers with market analysis, technical support and customized services.
Are you interested in our product?
Our professional sales team is waiting for your consultation.
WhatsApp:
E-mail:


